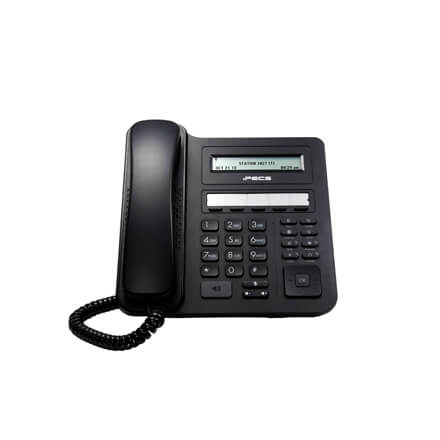
In this article, we will go through a step by step guide to printing labels for the iPecs LIP 8000, iPecs LDP-9000, iPecs LIP-9000 & iPecs LIP-9200 Series handsets.
When your new phone system is delivered, you will see that each handset comes with a label sheet that is used to label each shortcut button on your phone. You can choose to manually write the labels for each shortcut button, however, if you want the cleaner look (or you’ve got really bad handwriting), this guide will give you step-by-step instructions on how to print them.
Fair warning: printing your labels can be a tricky and fiddly process because you’ll have to ensure lining everything up with your particular printer. But this guide aims to make it less tricky by walking you through the whole process.
Printing Labels For iPECS LIP-8000 Series
First, you will need to download the LIP-8000 label template here. This has the label templates for the LIP-8004D, LIP-8012D, LIP-8024D, LIP-8012DSS & LIP-8048DSS handsets.
Next, identify which handset you have and go to the appropriate sheet in excel. Then enter the names you would like to appear on your quick dial label’s.
Adding Names To iPECS 8000 Series Labels
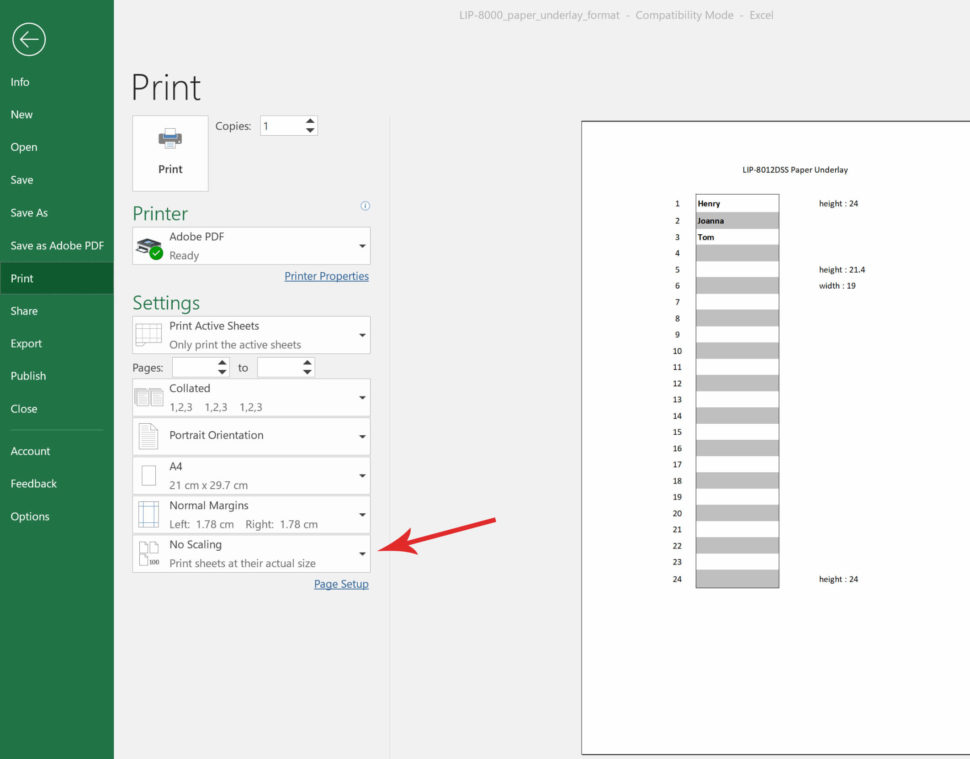
When you have entered all the quick dial label’s you want, print the sheet. Quick Tip: Ensure you have the ‘No Scaling’ Option selected.
Finally, cut around the label’s you have just printed. Then slip off the protective plastic label cover from your handset and place your newly printed label’s behind, and place the cover back on. And you are done!
Printing Labels For iPECS LDP-9000 Series
Skip me ahead to the LIP-9000 Series Guide to printing labels
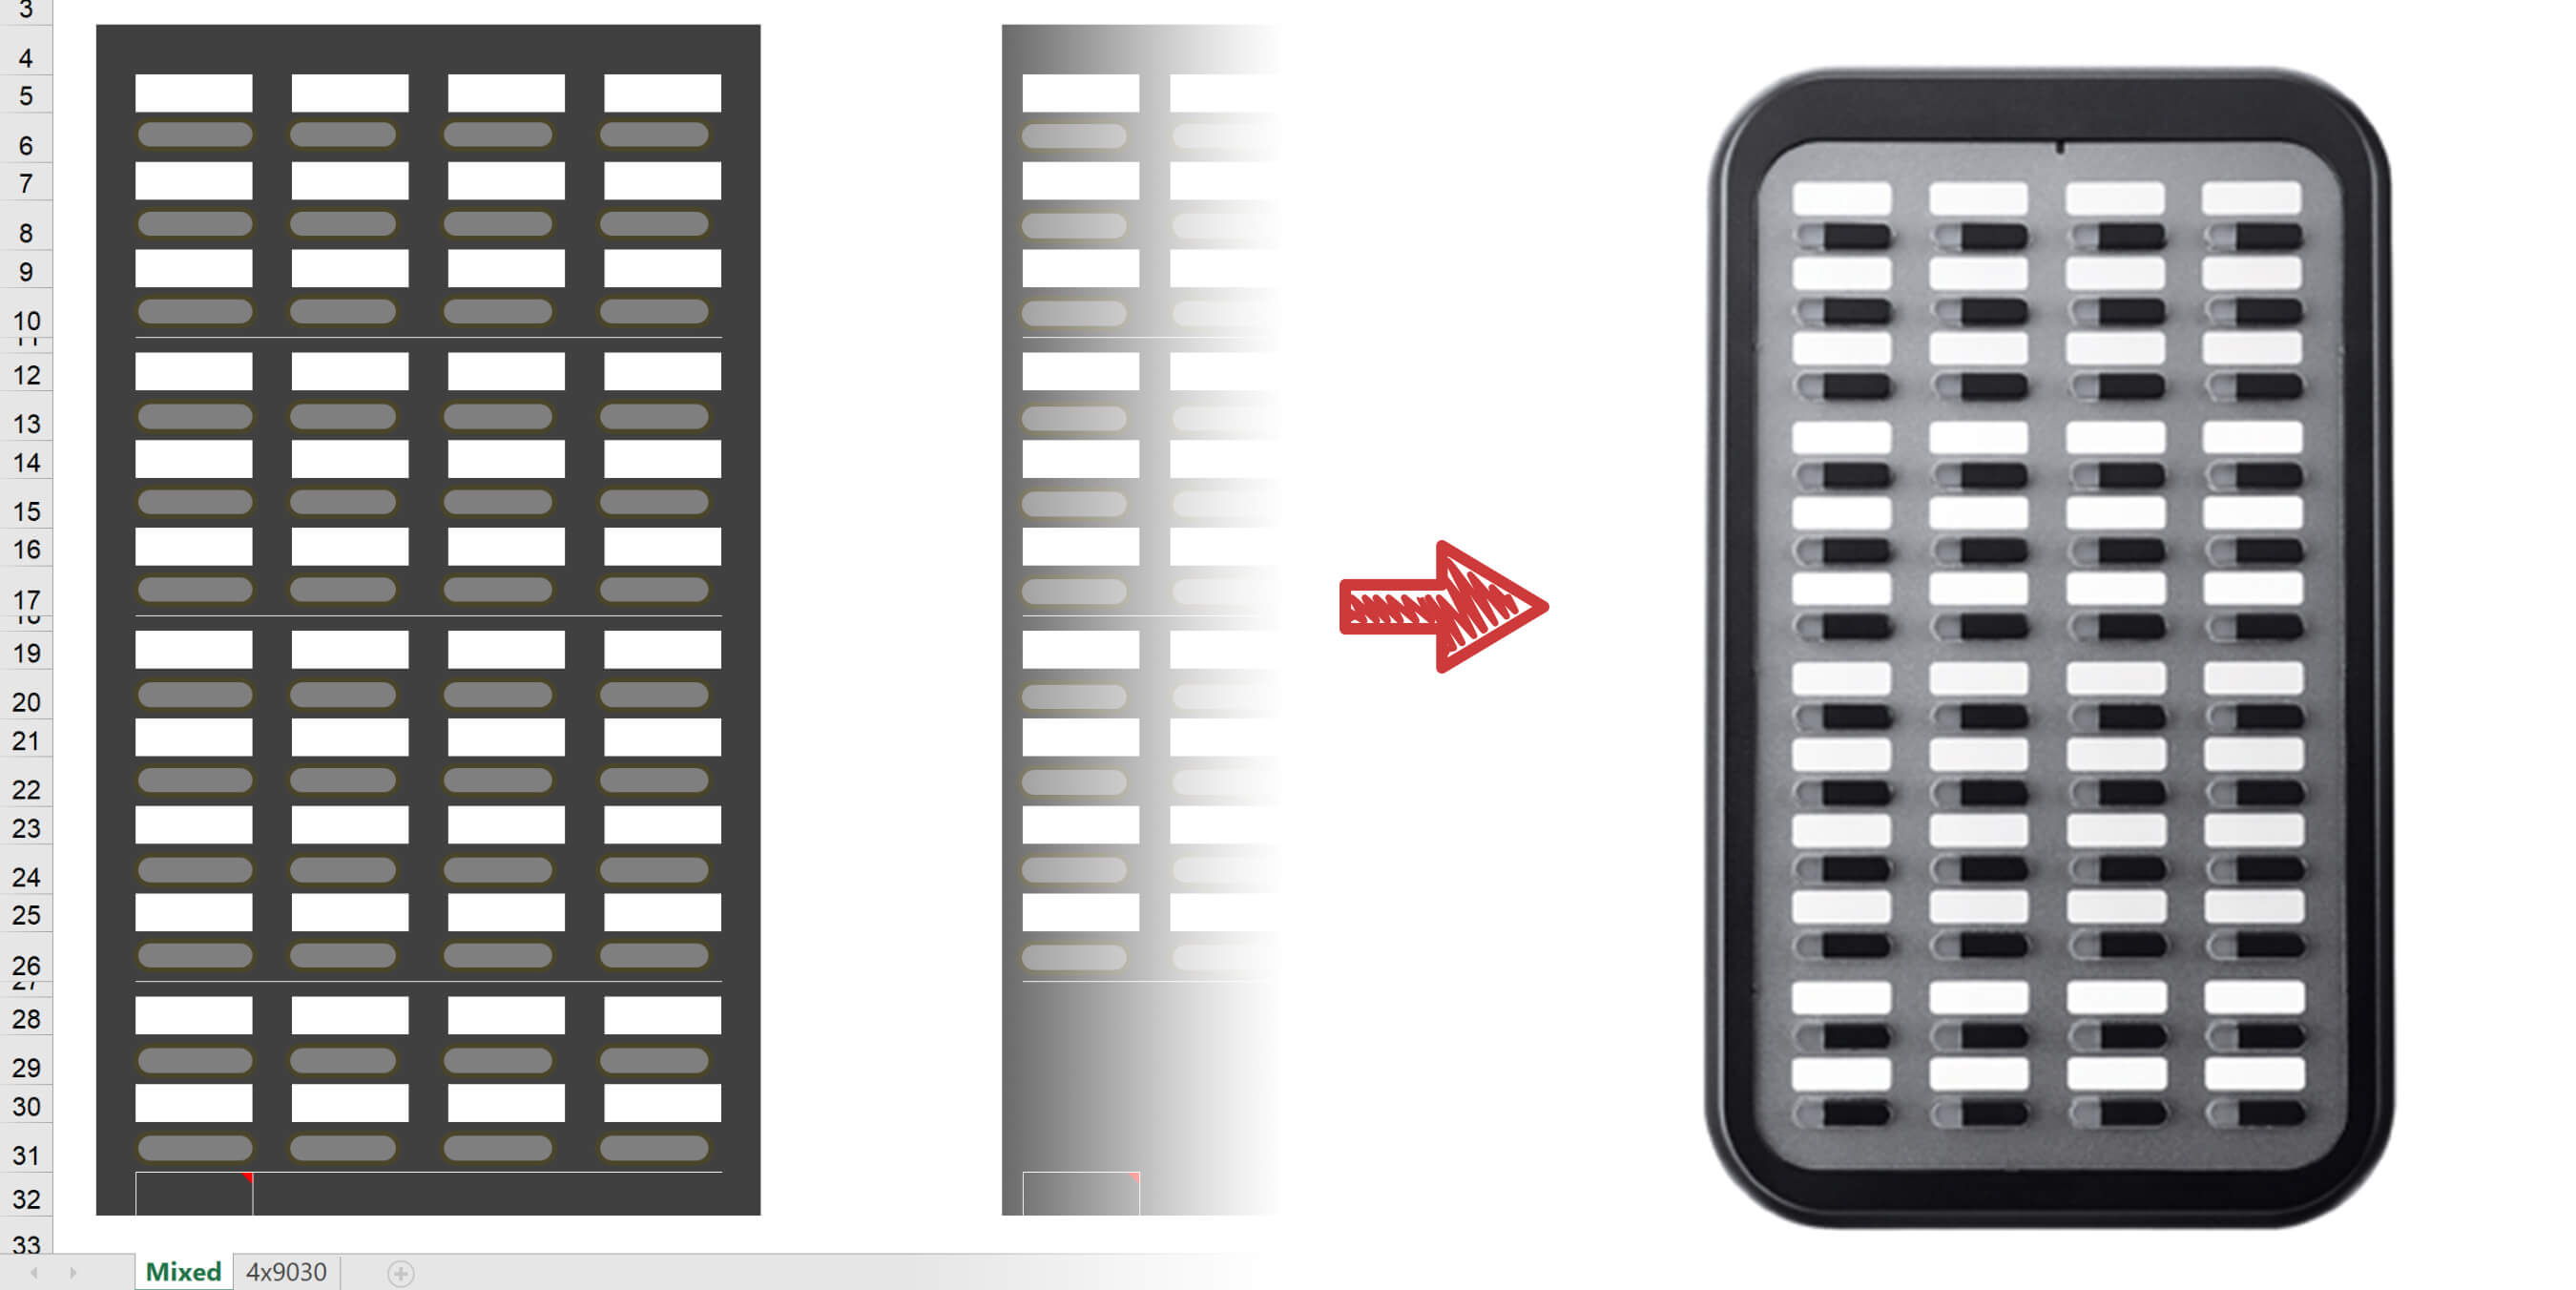
The first thing you’ll need to do is download our label templates for the LDP-9000 series, which you can find here.
You’ll notice that there are several different templates in the spreadsheet. This is because there is a different template depending on the phone & template you receive when your handsets are installed.
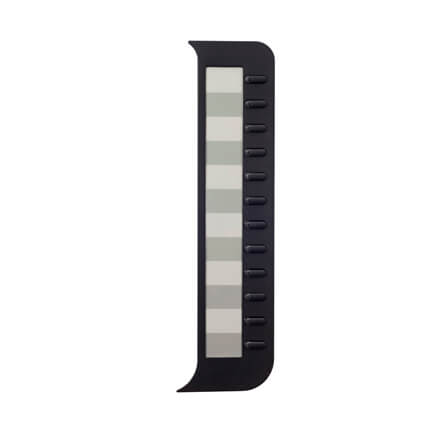
8 Button Extension
These labels are for the LDP-9008D.
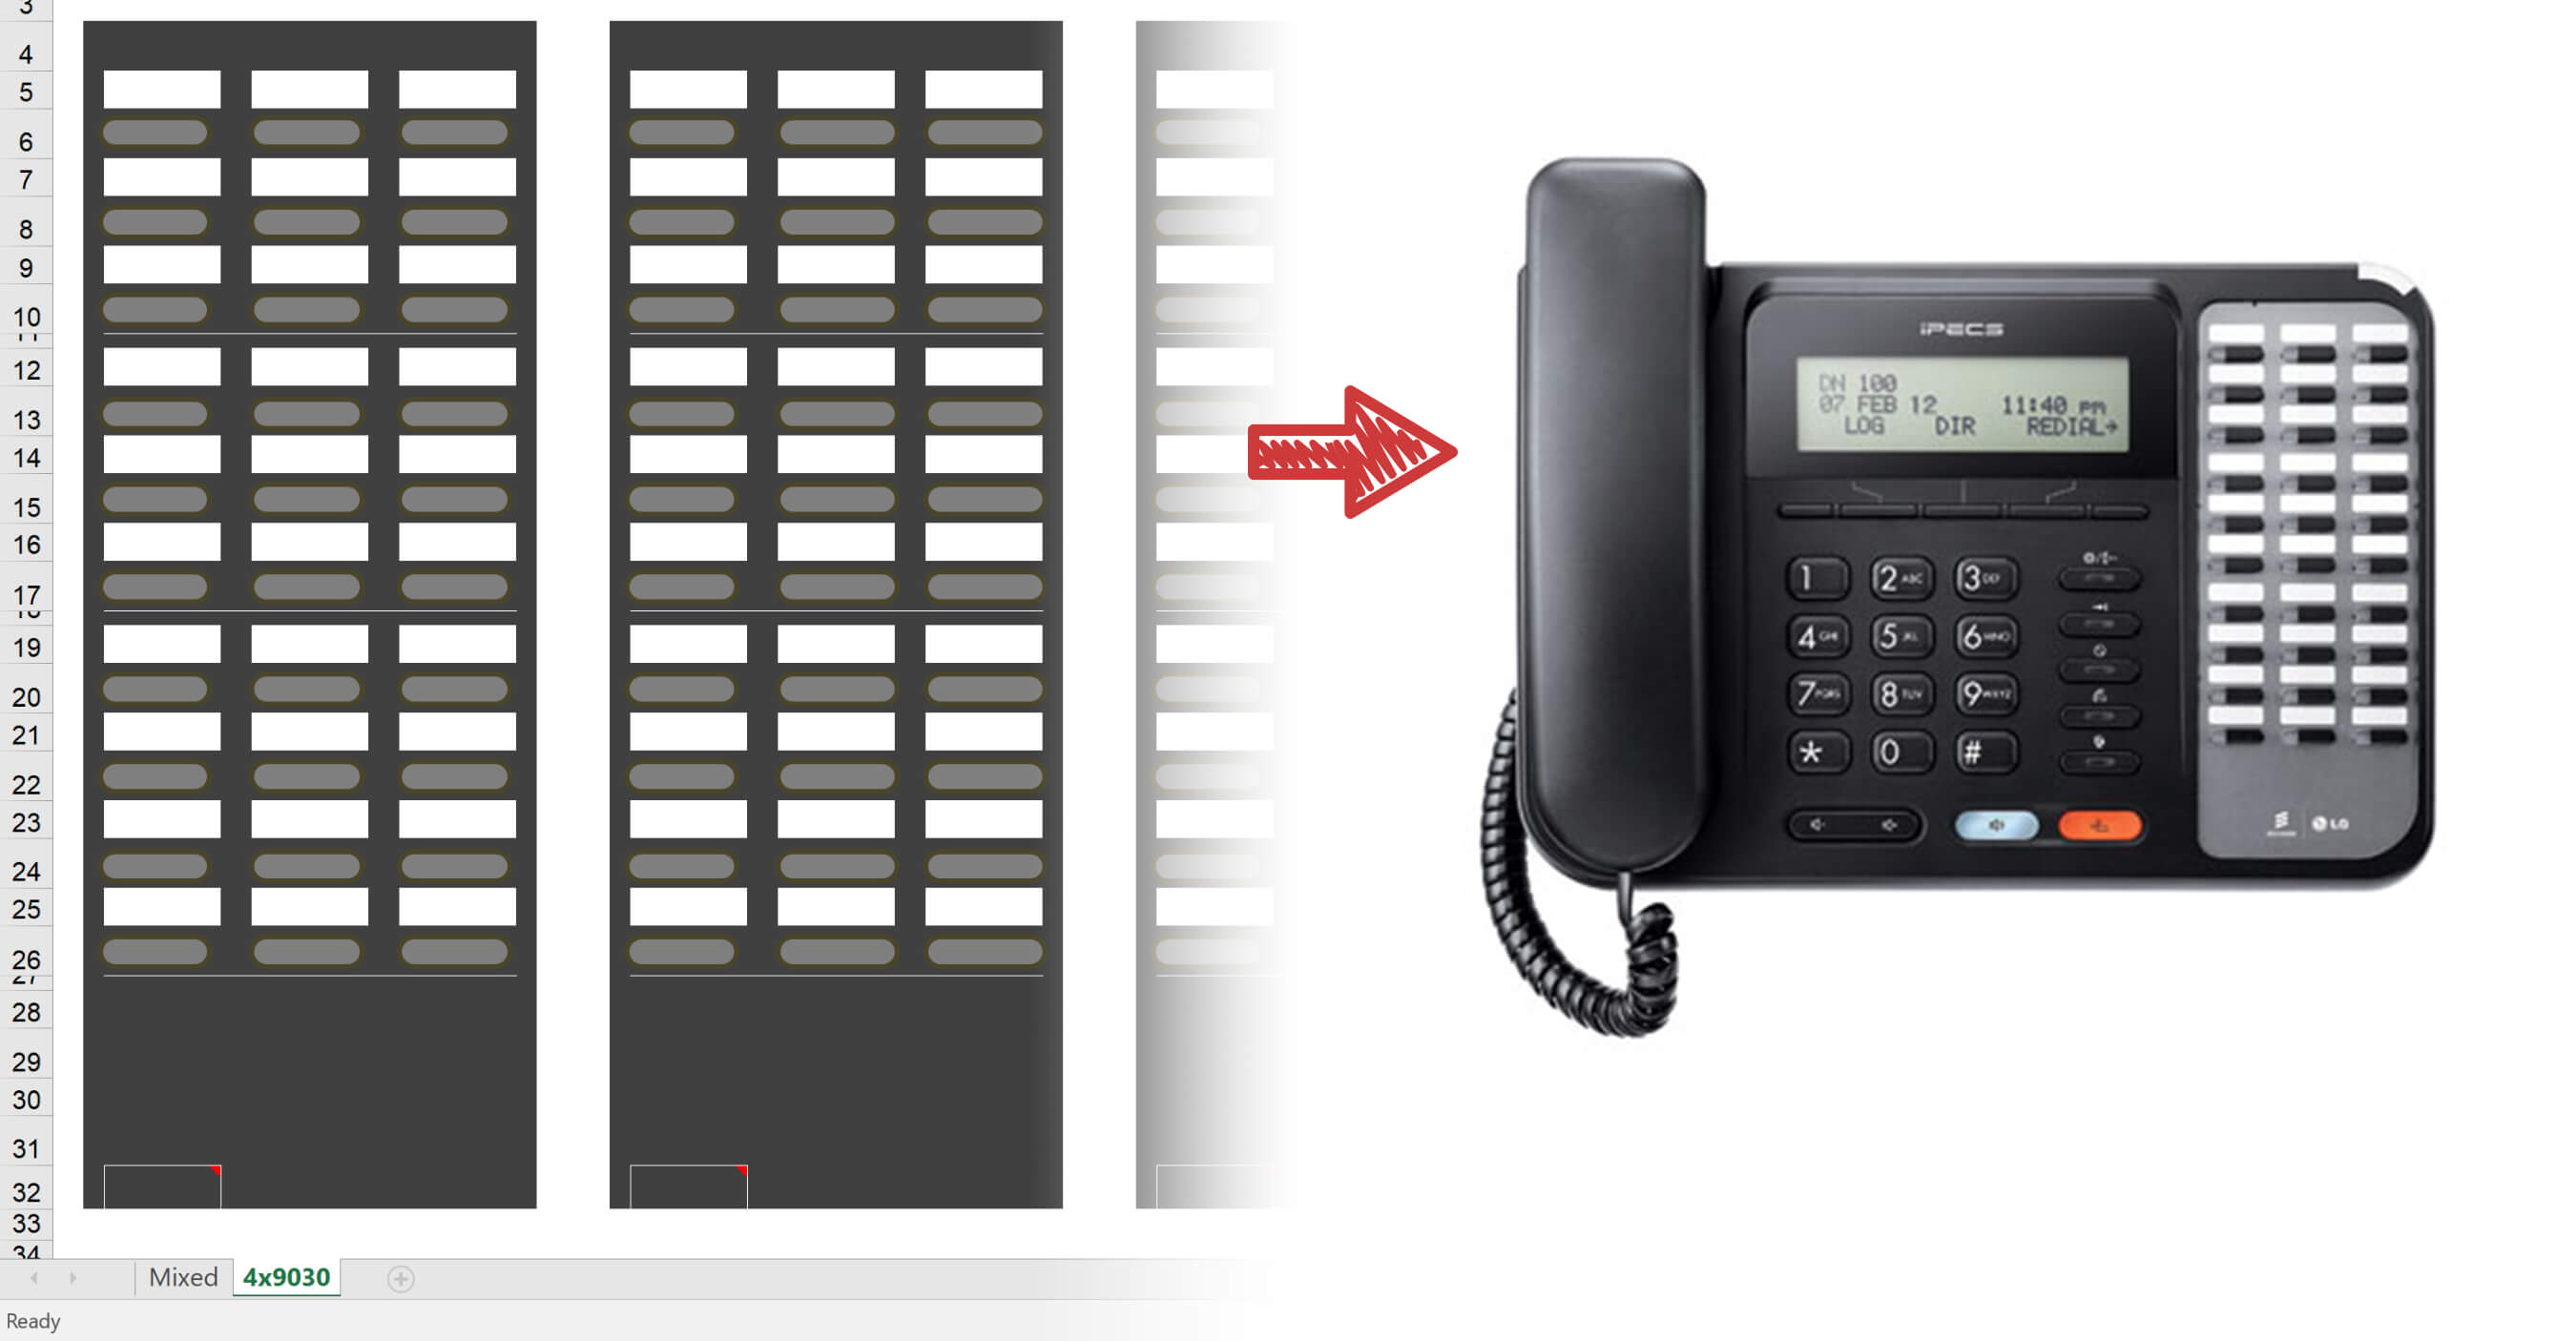
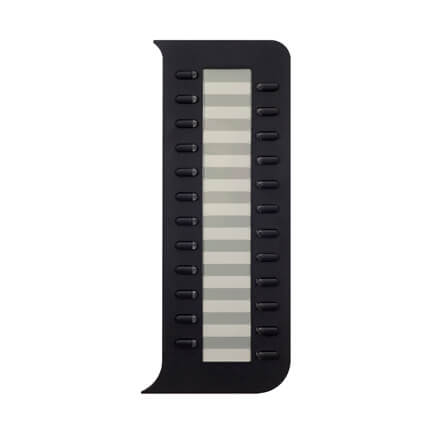
30 Button Extension
These labels are for the LDP-9030D.
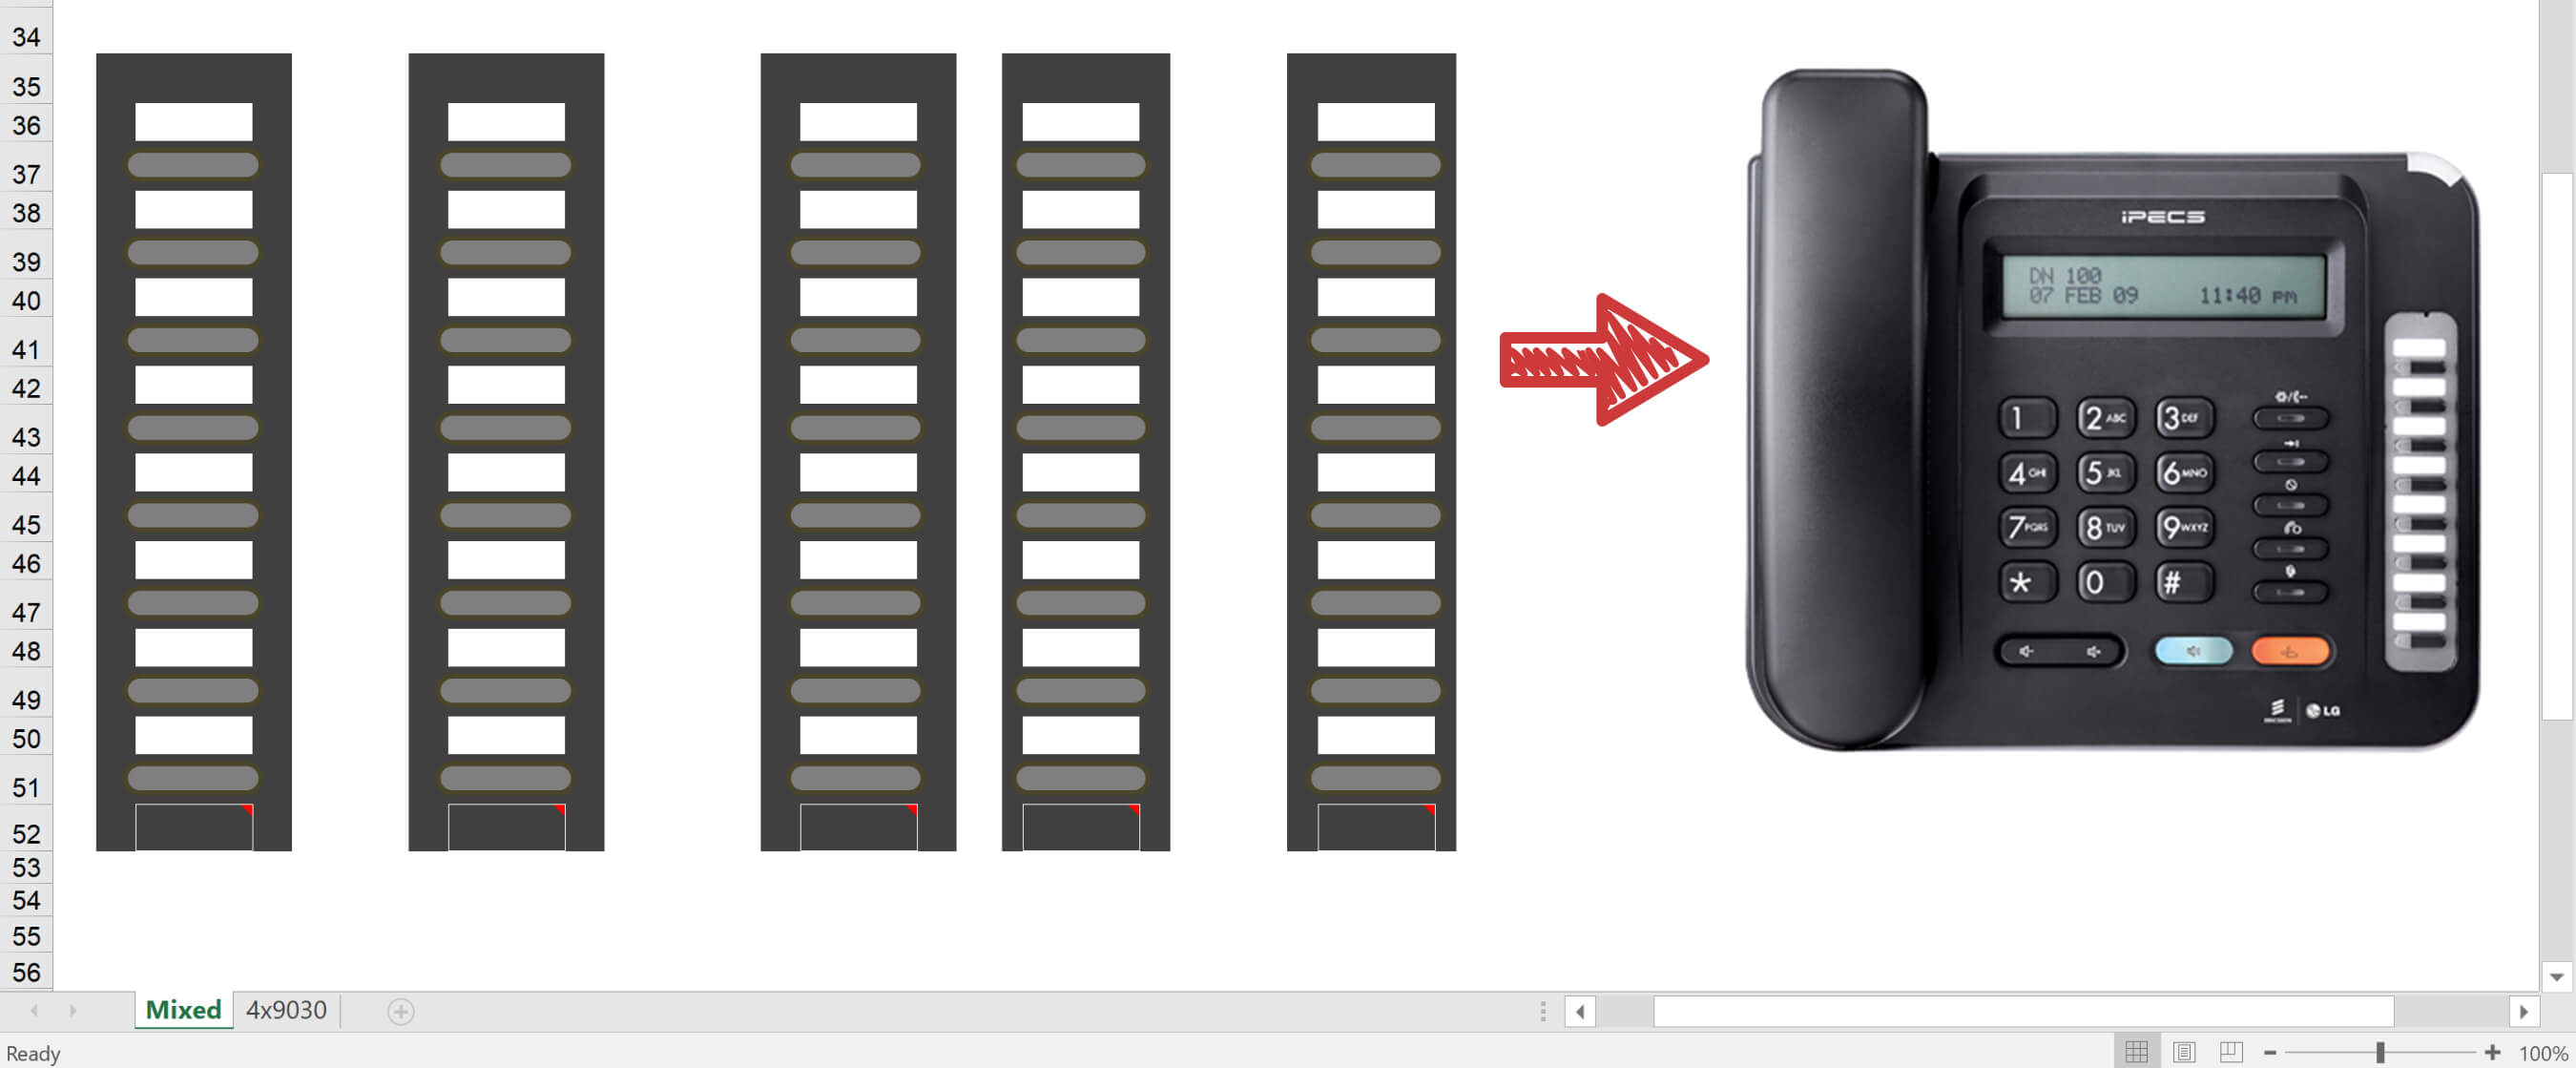
48 Button Extension
These label is for the LDP-9048DSS. If you require more than 30 shortcut keys, this addon replaces the shortcut keys on an LDP-9030D.
Printing Labels For The LDP-9000 Series
Steps For Creating labels
As we mentioned earlier, you can print these labels blank and then write on them by hand. However, this can get a bit messy, especially with the larger 48 and 30 extensions models.
The steps below will help guide you through the process of printing shortcut labels for you LDP-9000 series handset.
Step 1 – Download the Spreadsheet
If you haven’t done it already, download the Microsoft Excel spreadsheet for the iPecs LDP-9000 series labels here.
Step 2 – Enter your Contacts
Open the spreadsheet and type in the names of each person for whom you have a shortcut in the relevant space.
Step 3 – Print A Test On A4 Paper
Once you have all the names in the correct position, we advise that you don’t immediately print onto the labels that came with your handset. Printing a test on regular paper first will give you the chance to make sure everything is positioned correctly.
If you are anything like me and you don’t know if your printer prints on the top or bottom of the page, take a piece of A4 out of the printer and write ‘top’ on it. Place the paper back in the printer with the written side facing up.
Next,
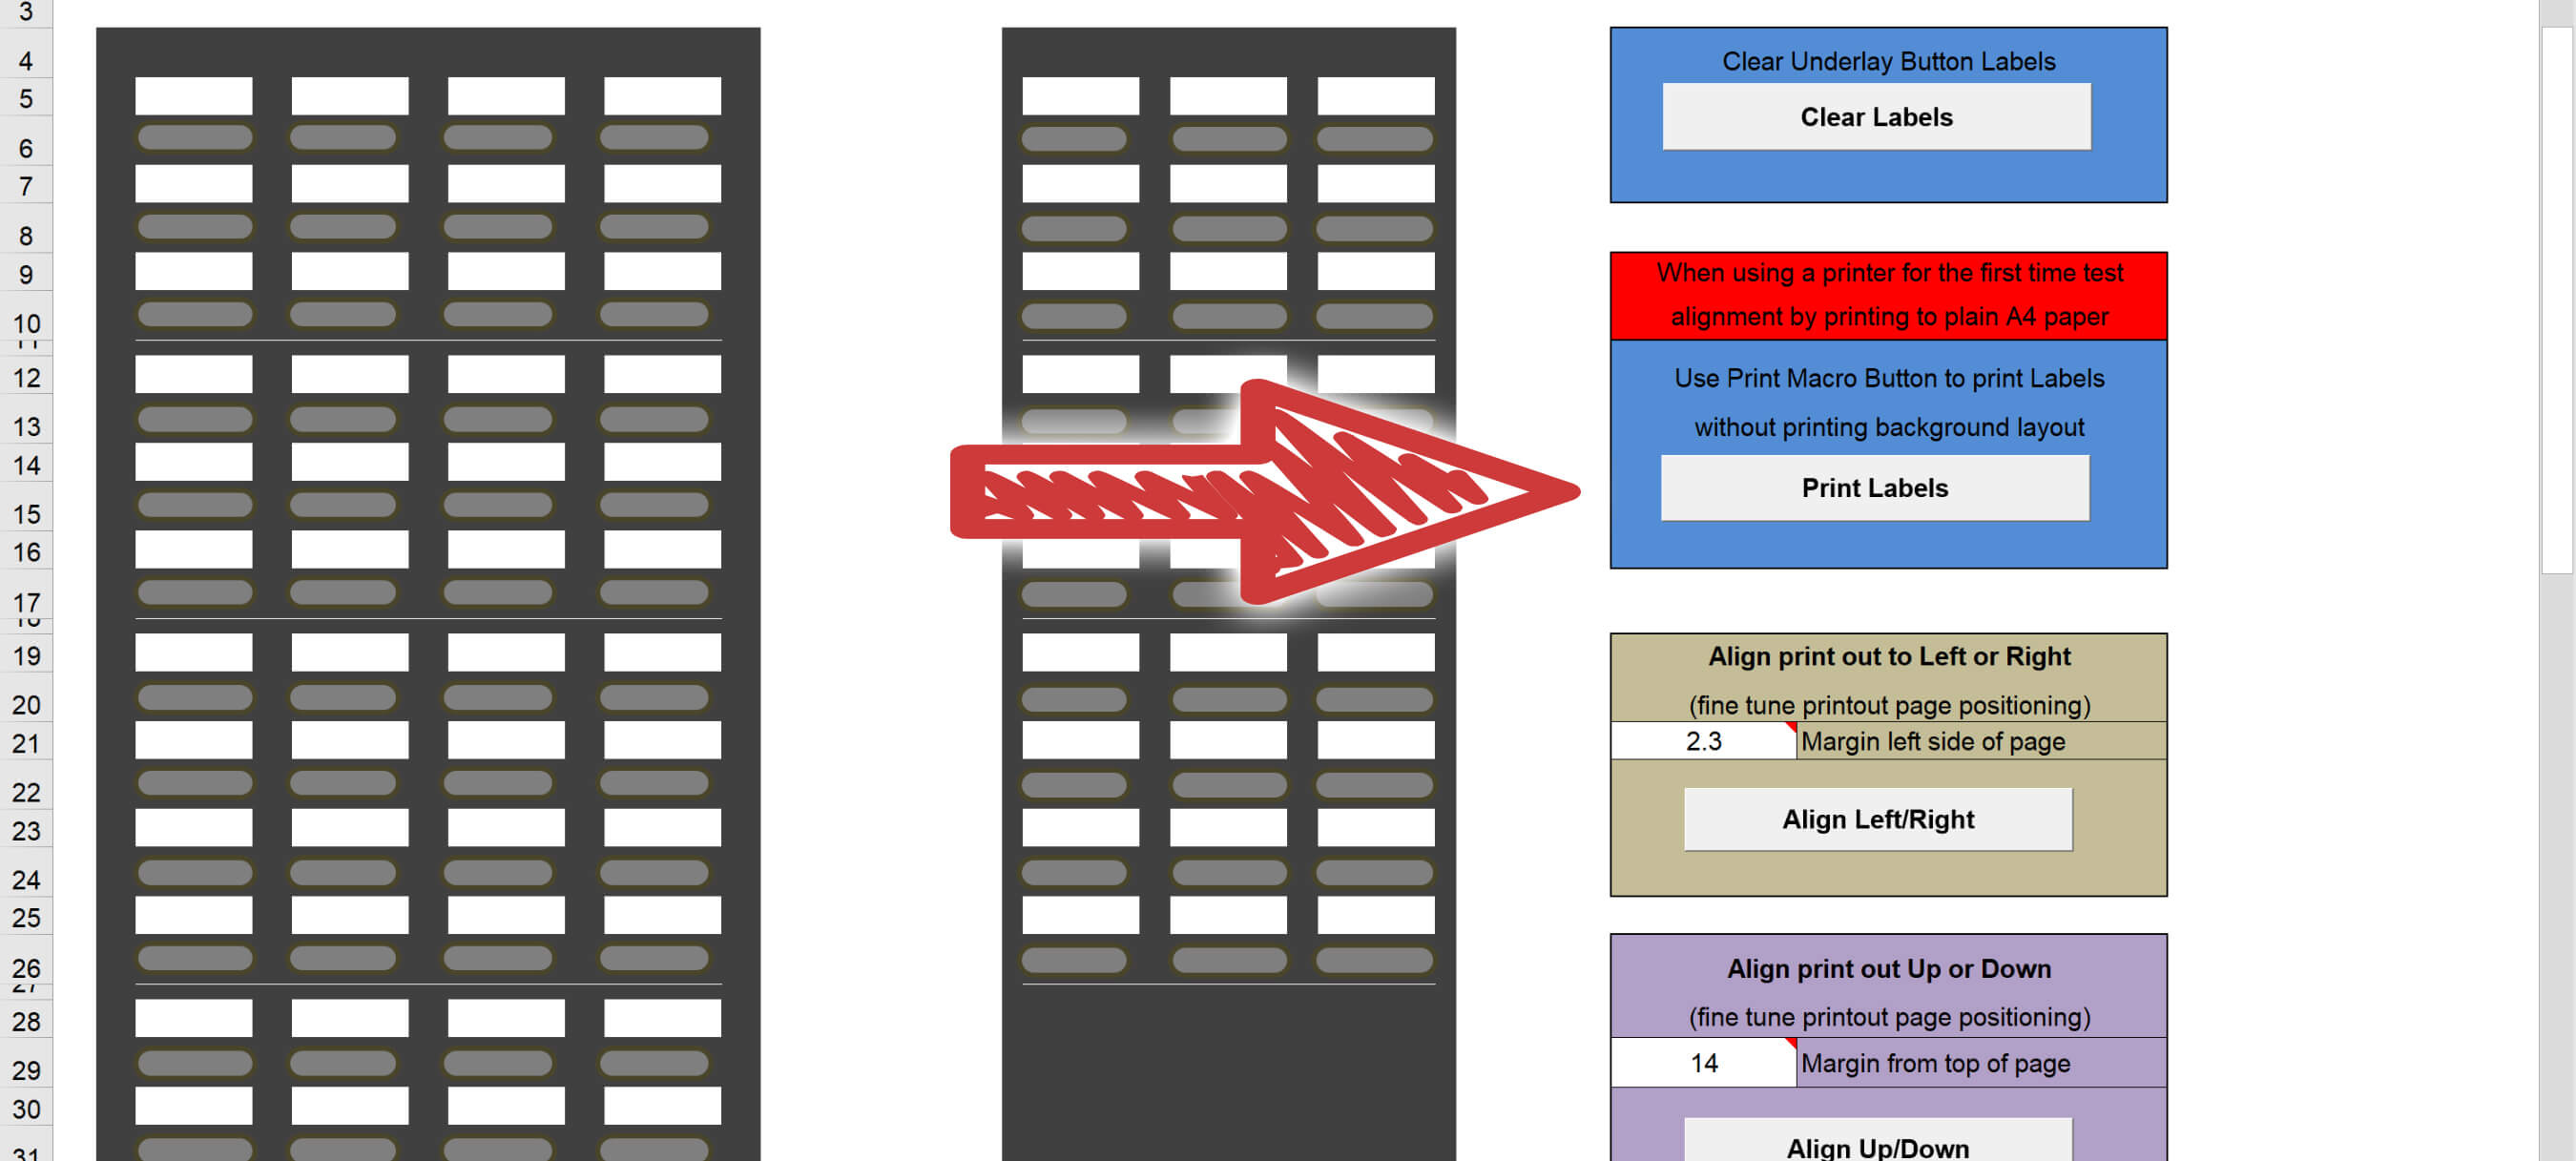
Print a test version of your labels on the A4 paper. To print the labels ensure you have macros enabled in the spreadsheet, then click the print button on the right-hand side of the spreadsheet.
Next, overlay the test print on top of the supplied labels to check everything lines up. If you are satisfied that the names line up with the labels, you can go ahead to Step 4.
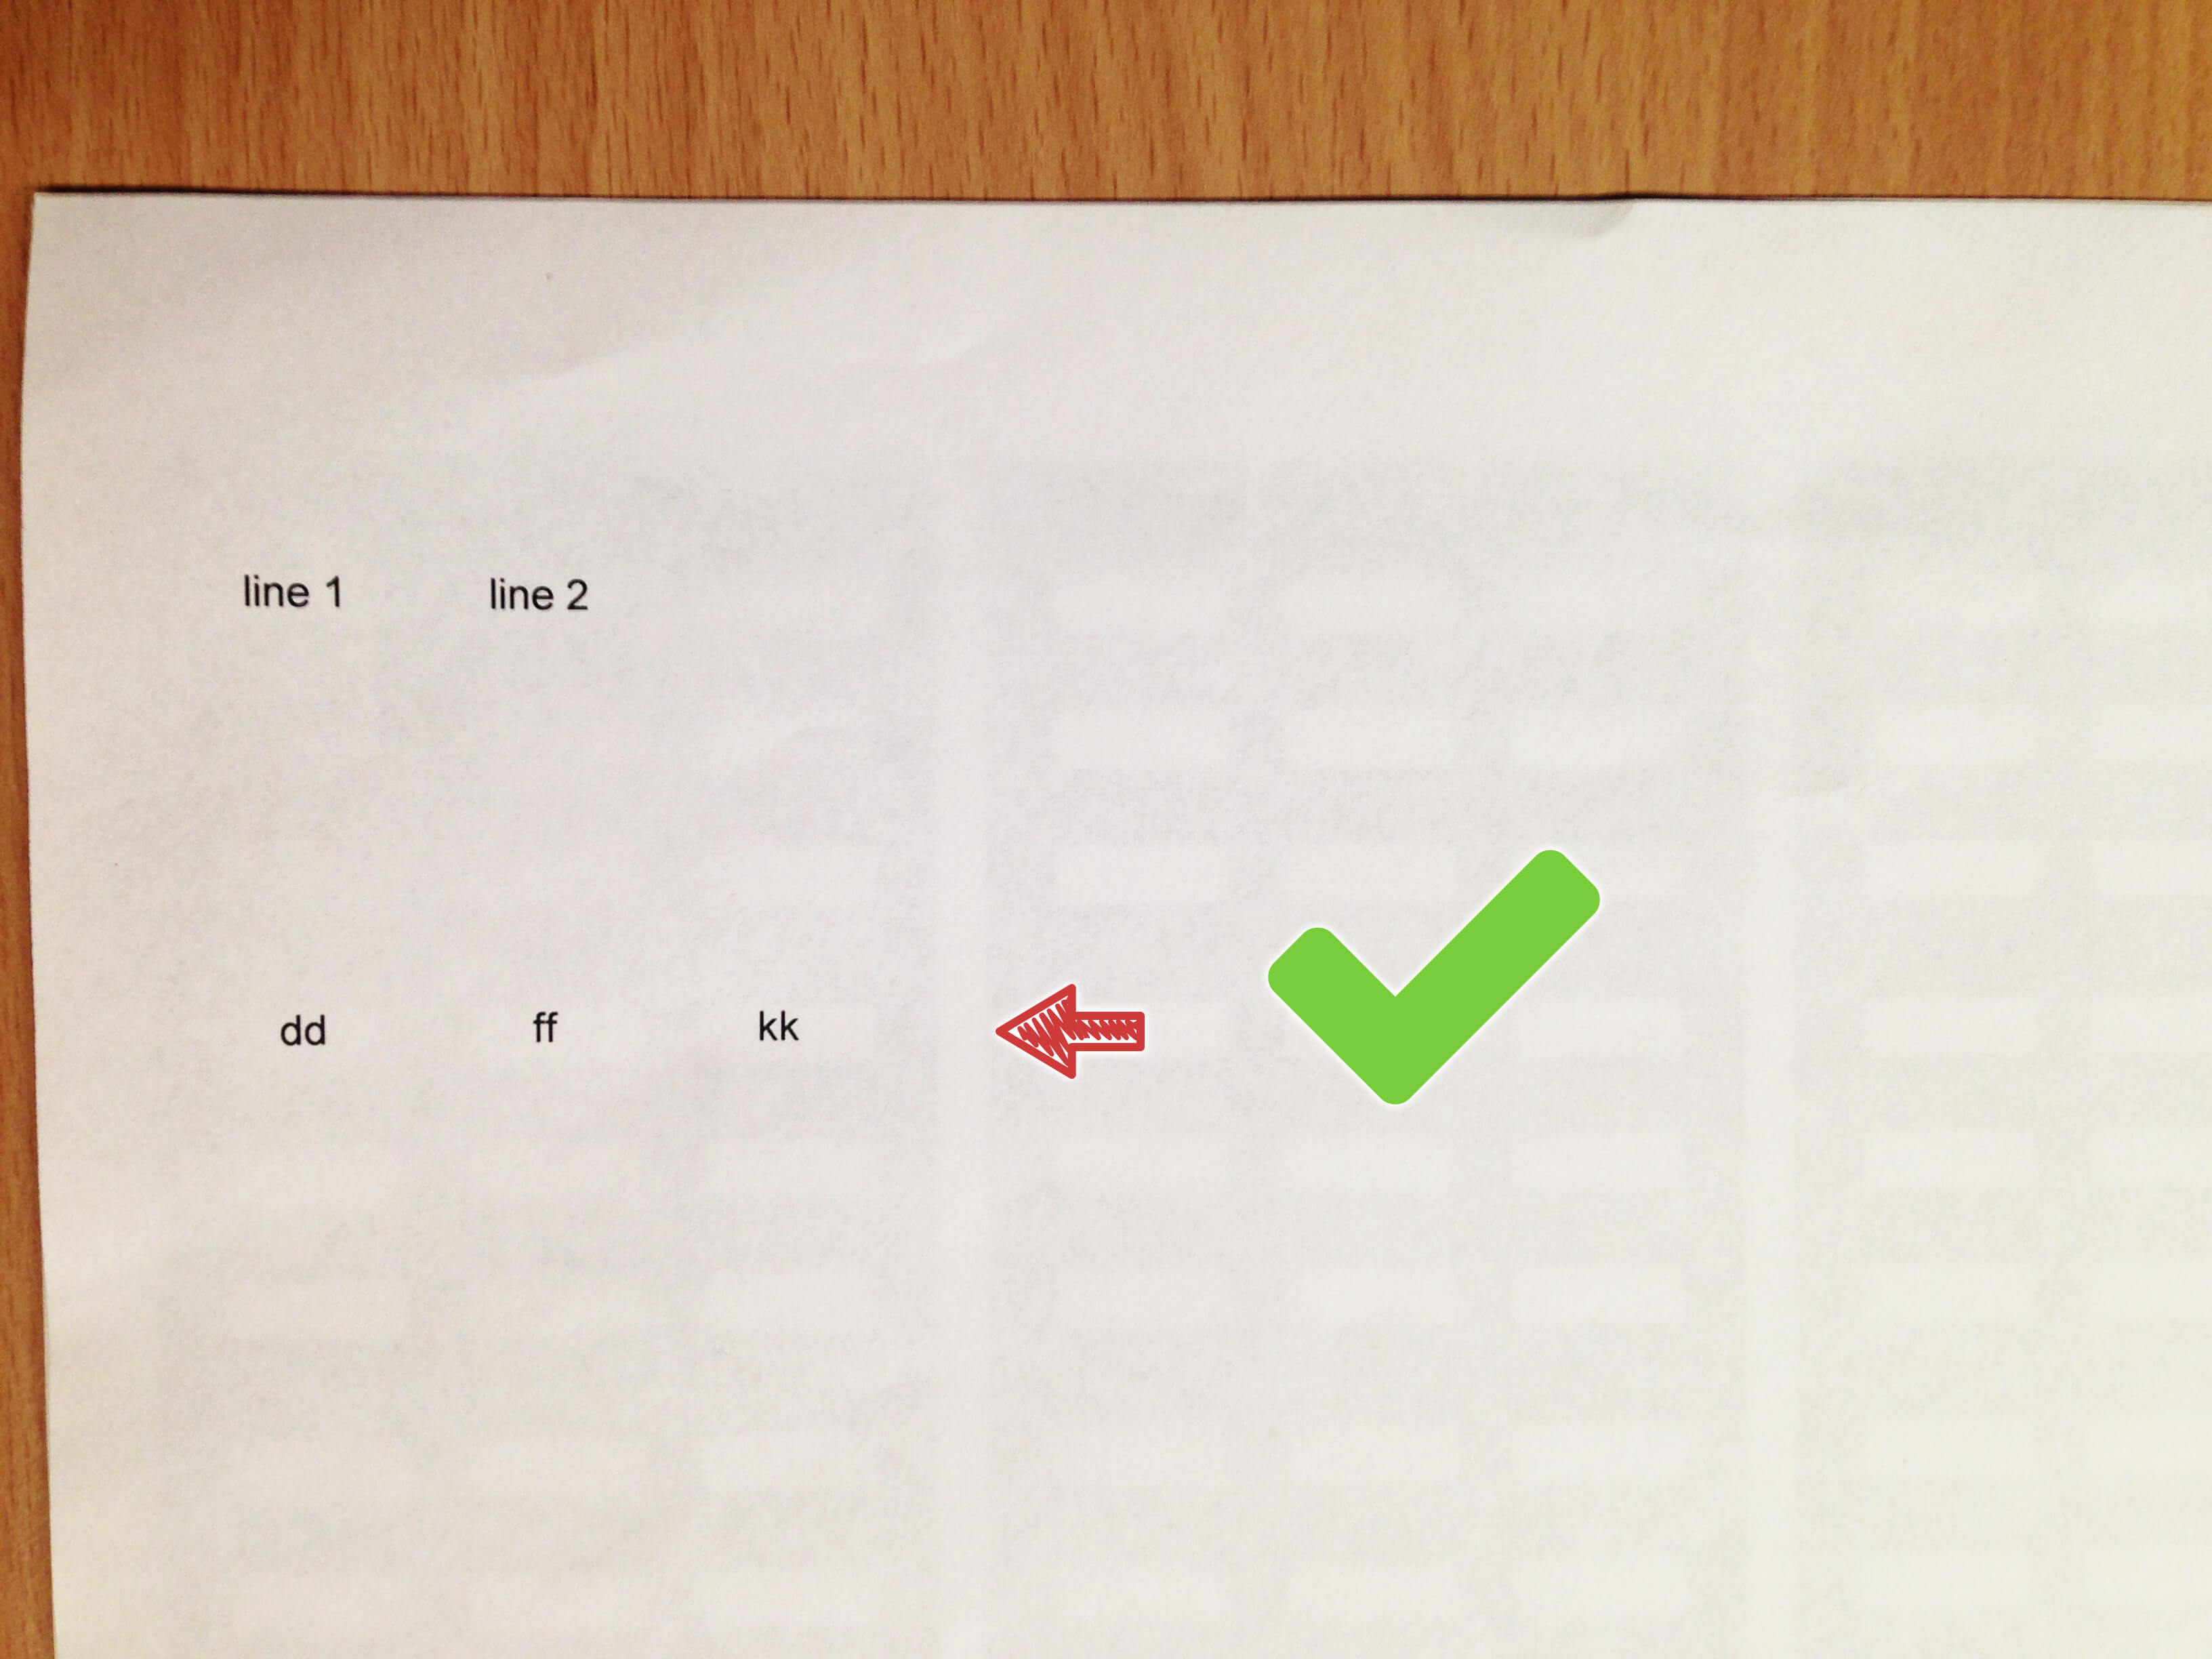
If your test print does not line up with the labels, re-enter the spreadsheet and change the offset values until you have everything lined up as you want.
What happens if my names are not printing in the right place?
If your test print does not line up with the labels that came with your phone, re-enter the spreadsheet and change offset values by using the tools on the right-hand side of your screen.
You may have to change offset values and do a re-test by printing the labels on plain A4 paper several times until you have everything lined up.
Step 4 – Print Labels For Real On The Pre-Perforated Paper
When you are sure that the labels on your A4 test print line up with the real labels that will go on your handset, it’s time to print for real.
Simply place your supplied labels in your printer. Come back to the spreadsheet screen and click print (right-hand side of the spreadsheet).
Step 5 – Stick The Labels To The Handset
Now you have your printed labels you can gently separate them from the backing paper and stick them to your handset.
You have now finished printing and adding labels to your LDP-9000 Series phone.
Adding Handset Labels To Your LIP-9000 Series Phones
First thing is first; you’ll need to download the correct PowerPoint template for your handset or add-on, which you can find below:
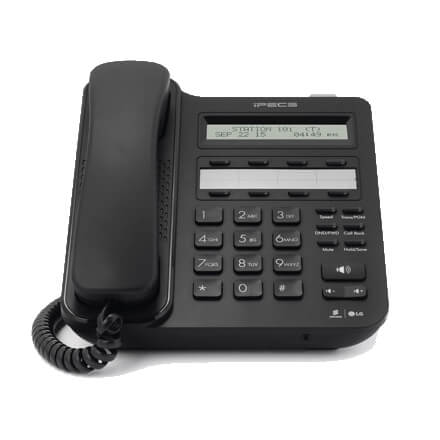
Phone Handset Labels For LIP-9010
You can download the label template for the LIP-9010 here.
Phone Handset Addon Labels For LIP-9012
You can download the label template for the LIP-9012 here.
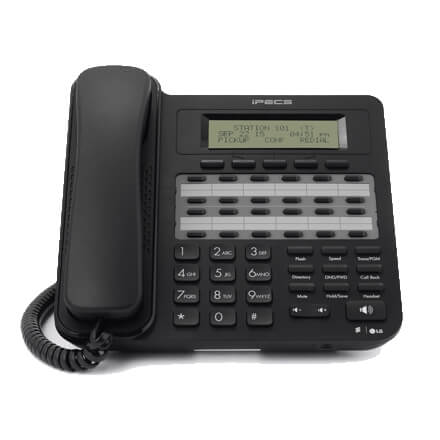
Phone Handset Labels For LIP-9020

You can download the label template for the LIP-9020 here.
Phone Handset Labels For LIP-9024
You can download the label template for the LIP-9024 here.
Printing Handset Label’s For The LIP-9000 Series
While you do have the option of printing the labels blank and manually writing names on them, however, it tends to be neater to type the text onto the label before printing them. Here’s how to do it:
Step 1 – Downloaded The Correct Template
LIP-9010 | LIP-9012 | LIP-9020 | LIP-9024
Step 2 – Adding Names To Labels
Open your template and type the names of each person attached to the shortcuts on your phone. Remember to replace the demo ‘Key in here’ space with the first contact on your shortcut.
Step 3 – Print The Labels
To print, the labels go to the print section of PowerPoint. Ensure you have it set to ‘Print All Slides.’ Do not use ‘Scale to paper’ as this will leave everything too small.
Step 4 – Cut Out and Add To Handset
After printing the labels, you will need to cut around the gray areas so that each label set fits in its space on the phone.
After cutting around the gray line, open up the see-through window on the handset and place the labels inside.
If for some reason the labels do not match up, check to make sure your printer settings were set to ‘print at 100% scale’, then print and cut again.
You have now finished printing your labels.
Adding Handset Labels To Your LDP-9200 Series Phones
First thing is first; you’ll need to download the correct PowerPoint template for your handset or add-on, which you can find below:
Phone Handset Labels For LDP-9208
You can download the label template for the LDP-9208 here.
Phone Handset Addon Labels For LDP-9224
You can download the label template for the LDP-9224 here.
Phone Handset Addon Labels For LDP-9248DSS
You can download the label template for the LDP-9248DSS here.
Printing Handset Label’s For The LDP-9200 Series
While you do have the option of printing the labels blank and manually writing names on them, however, it tends to be neater to type the text onto the label before printing them. Here’s how to do it:
Step 1 – Downloaded The Correct Template
LDP-9208 | LDP-9224 | LDP-9248DSS
Step 2 – Adding Names To Labels
Open your template and type the names of each person attached to the shortcuts on your phone. Remember to replace the demo ‘Key in here’ space with the first contact on your shortcut.
Step 3 – Print The Labels
To print, the labels go to the print section of PowerPoint. Ensure you have it set to ‘Print All Slides.’ Do not use ‘Scale to paper’ as this will leave everything too small.
Step 4 – Cut Out and Add To Handset
After printing the labels, you will need to cut around the gray areas so that each label set fits in its space on the phone.
After cutting around the gray line, open up the see-through window on the handset and place the labels inside.
If for some reason the labels do not match up, check to make sure your printer settings were set to ‘print at 100% scale’, then print and cut again.
You have now finished printing your labels.
Conclusion
In this article, I have walked through how to print handset labels for iPECS LIP-9000, LDP-9000 and LDP-9200 series phones.
Now you can download the templates above and try printing your labels as you need them. If you ever need any additional labels for your handset, you can purchase them here:
If you have any questions about how to print your labels or any tips that make it easier, please leave a comment below, and we’ll get back to you.