In this article, I will go through the Google Apps SMTP settings needed to setup voicemail to email in Avaya Phone Systems.
The Avaya voicemail to email feature can be set on a user by user basis, and depending on how each person likes to work within your company may be something they want. The features sends each voicemail the user receives, through to the person’s email as a .wav attachment. The emails will look like the below:
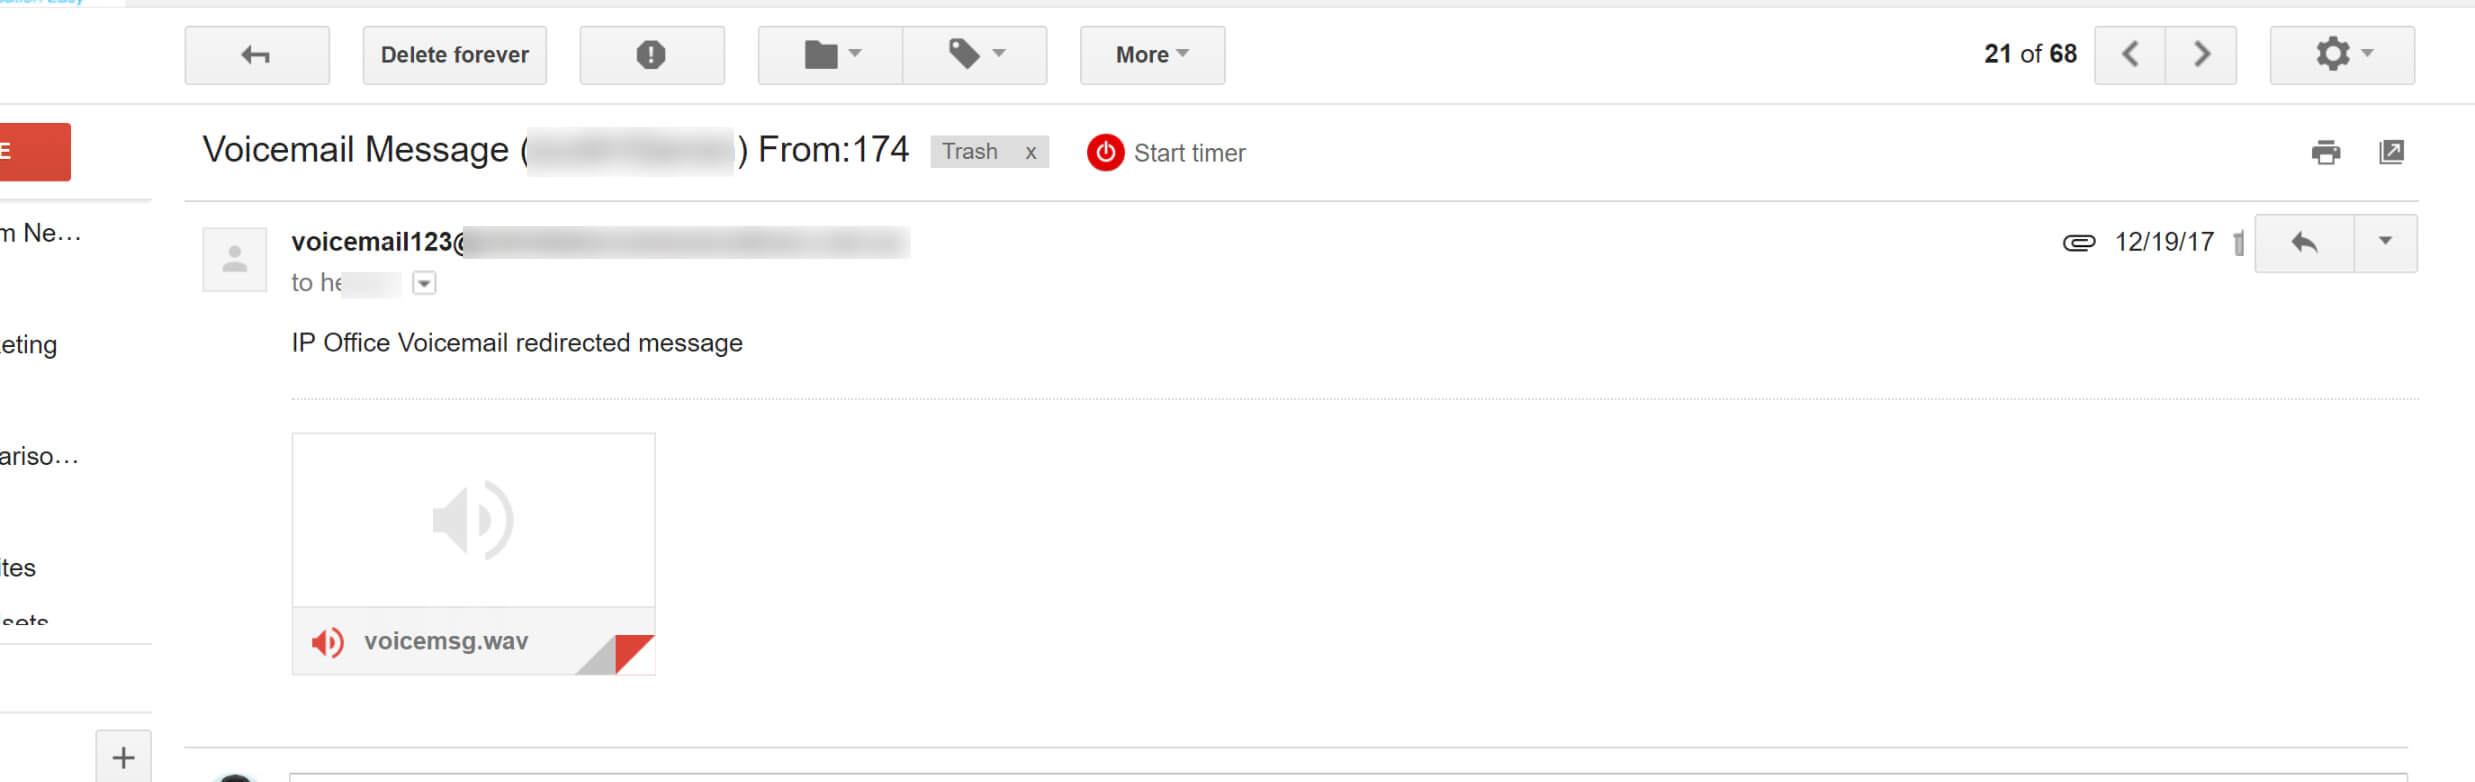
Setting this up this feature for users is normally done by a qualified Avaya phone technician, and can be done remotely or during an on-site visit. However, before this can be setup you will need to have an email address to send the voicemail files from.
Details Needed To Setup Avaya Voicemail to Email
To setup Avaya Voicemail to Email, your IT team will need to give an Avaya technician the following details:
- Server Address
- Server Port
- Voicemail Email ‘From’ Address
- List of users & there emails addresses who would like to have voicemail to email activated.
Setting Up Google Apps SMTP For Avaya Voicemail to Email
By default, Google Apps is going to block sending any emails from the system that don’t have the correct smtp setting in the system. So if you are using Google Apps for business you will need to add a couple of setting into the domain management dashboard to allow you to use your @domainname.com.au email address as the from email address when sending voicemails to users.
Below I will go through the steps you will have to go through to setup Google Apps SMTP settings to use for your Avaya phone system by turning on Google Apps SMTP Relay.
Step 1: Setup The SMTP Auth In Google Apps
Set Up SMTP Relay by following step 1 of Googles instructions here.
For step 6 we do not recommend choosing ‘Any addresses’. If you would like the from email address to be [email protected] in your inbox, but don’t have voicemail@ setup as a user in your Google Apps account you will have to use the ‘Only addresses in my domains’ setting.
If your phone system is on a static IP, we strongly suggest adding the IP address as described in step 7.
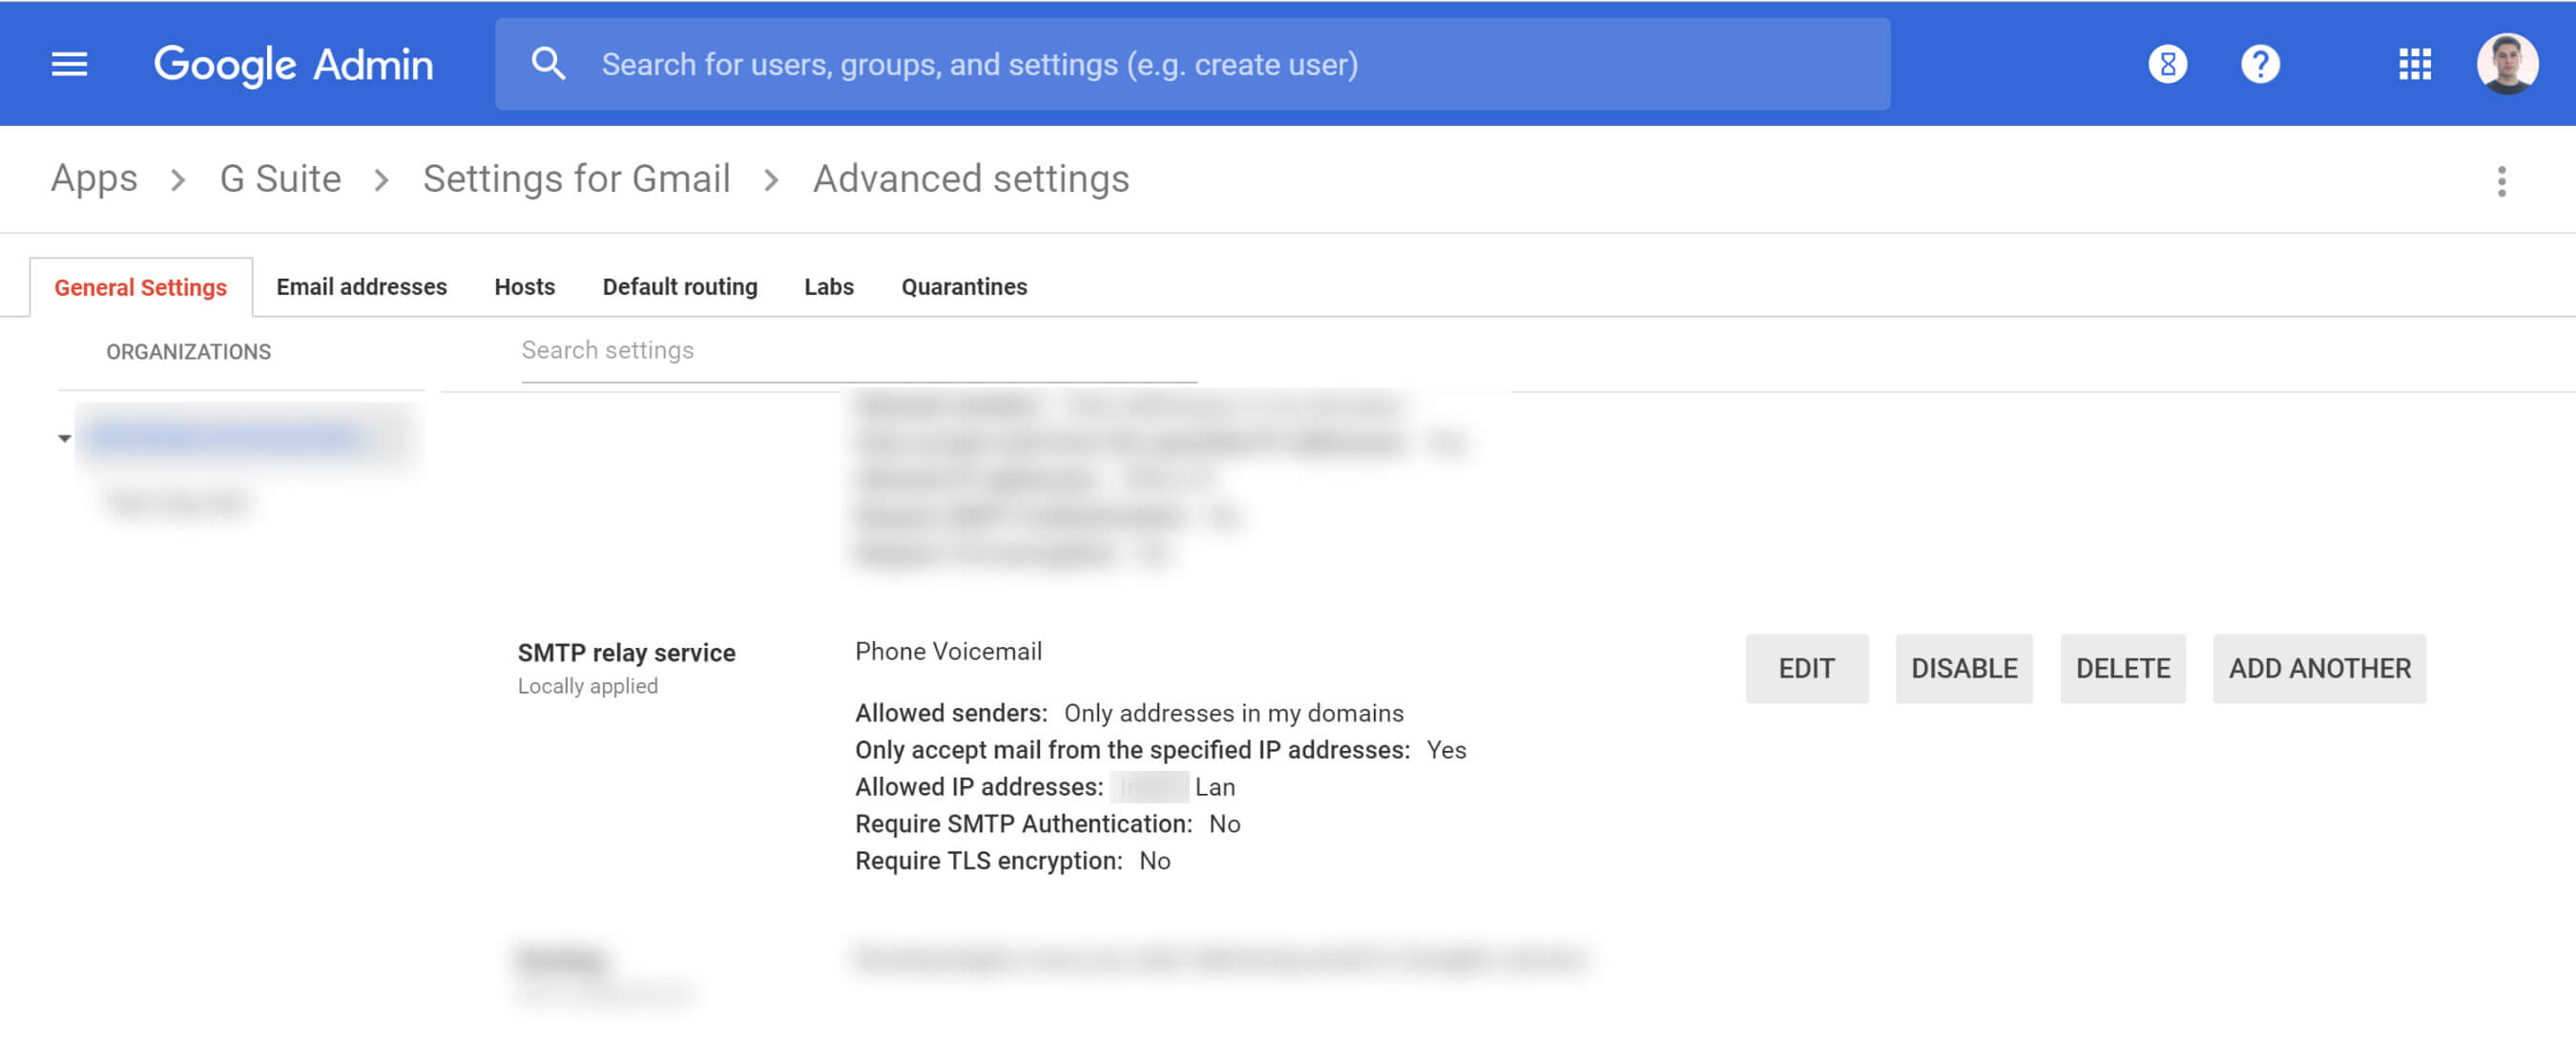
Set SMTP & TLS settings to No.
When you have completed this, your new SMPT setting should look similar to this:
Step 2: Inform Your Phone Technician Of The SMTP Setting You Have Setup.
When you have setup your new SMTP Relay settings, you will need to let the phone technician know your SMTP server configurations, so they can add it to your phone system.
The ‘from email address’ that will send via SMTP details will be:
Server Address: smtp-relay.gmail.com
Server Port: 587
Voicemail Email Address: If you have selected ‘Only registered Apps users in my domain’ in step 6 above, then the from email address must exist as a user in your Google Apps account. E.g. [email protected]. If you selected ‘Only addresses in my domains’ you can use an email address that is not a user in your Google Apps account, e.g. [email protected].
Step 3: Inform Your Phone Technician Of The Users Who Would Like Voicemail to Email Setup
You will also need to inform the Avaya Phone Technician which phone system users would like to use Voicemail to Email and what each of their email addresses is.
Conclusion
In this article, we have looked at what Google Apps STMP Relay settings you need to setup for Avaya Voicemail to Email and what information the Avaya phone tech will need.
If you would like help setting up the Avaya Voicemail to Email, call our Avaya Phone Technicians on 1800 850 214.